Image orientation
Generally, people think about image orientation in terms of portrait or landscape. What this really means is which way the image frame is oriented:
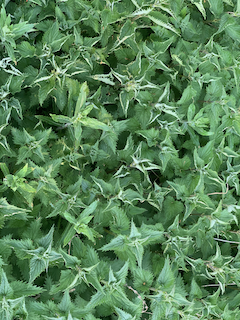
- Portrait – the height of the frame is longer than the width. This would be portrait:
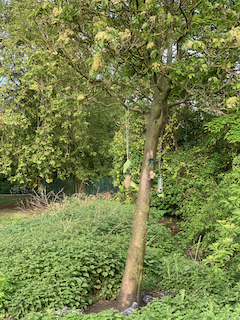
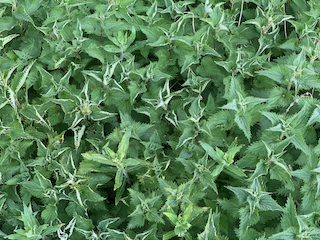
- Landscape – the width of the frame is longer than the height. This would be landscape:
But this is also portrait:
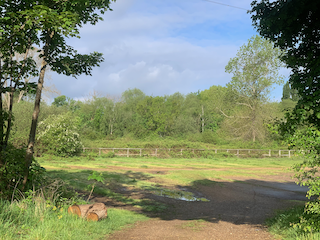
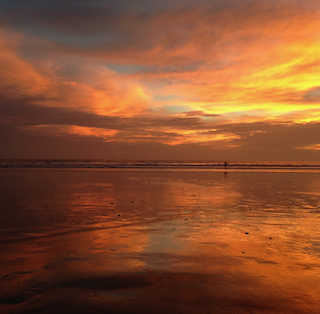
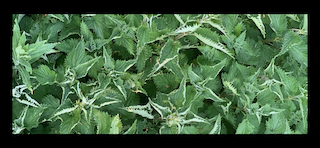
And this is landscape:

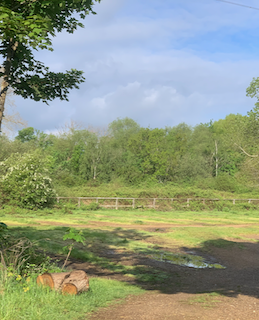
Also, we might think this is landscape, because we recognise what’s in the picture, but the frame is actually in portrait orientation.
But, this can be either portrait:
Or landscape:
And only the person who took the photo knows which way the camera was oriented.
The Sketch Grid approach to image orientation
Seing as image orientation is not a simple matter, in Sketch Grid, we take a pragmatic approach – we orient the photo in the way that will take the most of your limited screen space. If your picture is more wide that it’s high, we turn it on its side, to align the longer side with the longer side of the device you’re using. This avoids situations like this, which in our view is a waste of screen space:
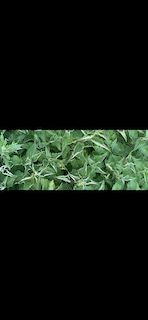
Once the picture has been oriented in the way that it takes the most space on your device’s screen, it stays there. You can flip your device around, and the controlls will flip accordingly, but the image will stay where it was. This gives the user the feeling of holding a physical image, rather than one that changes orientation when the frame is rotated. So instead of the above, Sketch Grid will show you this:
And you can flip your device to look at it whichever way you like – the controls will follow, so you can still use them in the new device orientation.
We hope you enjoy using Sketch Grid. If you have any feedback or suggestions, plase use the contact form, or write to the email address in your app.
I’d like to draw a picture15cm on the long edge copying from the grid. I’d like to control the image view with the grid to match that. So sometimes I don’t want the image to take the most space on the ipad screen because it gets too big, but to be able to reduce it to match my drawing size. Is that possible?
Thank you for your comment Margaret!
If I understand you correctly, you want to change the size on screen to match the size of your physical drawing? I’m afraid that is not possible at the moment – it will always be blown up to take all the available space.
As a workaround, may be you can screenshot it and change the size in Photos? Would you like to contact us via email (in the help screen in the app) or via the contact form (http://3.11.165.164/index.php/contact/) to see if I can help you with your picture and perhaps improve the app to handle it in the future?